
Table of Contents
- Why Interior Paint Peels: Common Causes of Interior Paint Failure
- Tools for Wall Paint Repair: What You’ll Need Before You Start
- Step 1: Assess the Damage and Check for Lead Paint
- Step 2: Remove Loose Paint and Prepare the Surface
- Step 3: Fill Cracks and Divots, Then Sand Smooth
- Step 4: Choose the Best Primer for Peeling Paint
- Step 5: Paint the Repaired Area and Match the Texture
- How to Prevent Peeling Interior Paint From Coming Back
- Frequently Asked Questions
Last Updated: September 18, 2026
Why Interior Paint Peels: Common Causes of Interior Paint Failure
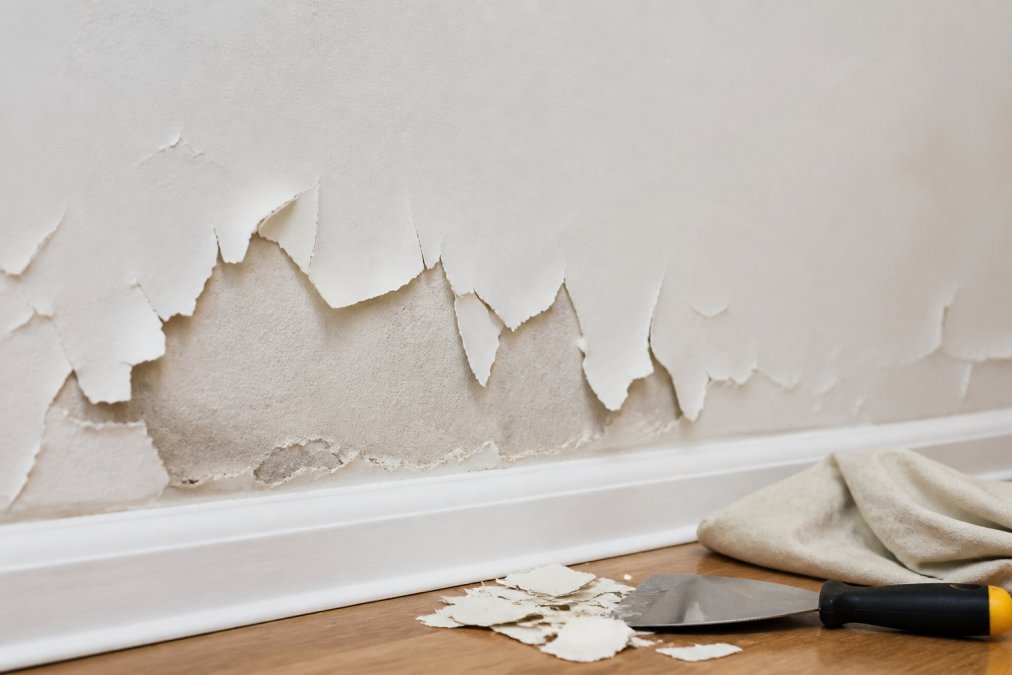
Peeling interior paint is almost always a moisture or preparation problem, not a paint problem. Paint is the messenger. When it lets go of the wall, something underneath pushed it off.
Here are the usual suspects behind peeling interior paint:
- Trapped moisture. Bathrooms, kitchens, and basements push humid air into the drywall. The paint loses its grip from behind.
- Poor surface prep. Paint over dust, grease, or glossy old paint and it will fail. Every time.
- Wrong primer. Bare drywall, patched spots, and previously painted trim all need different primers.
- Layers of old oil-based paint. Latex topcoats struggle to bond to a slick oil-based surface.
- Water leaks. A slow drip behind a wall will lift paint long before you see the stain.
Tools for Wall Paint Repair: What You’ll Need Before You Start
The right tools for wall paint repair make the job faster and the finish cleaner. You don’t need much, but you do need the right items.
Gather these before you open a can of paint:
- Putty knife (1.5 to 3 inches wide) for scraping and filling
- Sandpaper in 100, 150, and 220 grit
- Sandpaper block or pole sander
- Drywall compound or spackle for cracks and divots
- Primer matched to your surface
- Paint and a small roller plus a brush for cutting in
- Tack cloth for dust removal
- Drop cloths and painter’s tape
- Safety glasses and a dust mask
Buy a flexible putty knife, not a stiff one. A flexible blade feathers filler into the wall instead of leaving a hard ridge you’ll have to sand flat later.
Step 1: Assess the Damage and Check for Lead Paint
Start by pressing on the peeling area with your thumb. If the paint moves, the bond is already broken. Mark the full extent with a pencil before you scrape.
Signs you should stop and test:
- Chalky or powdery residue under the paint
- Paint that peels in large sheets
- A home built before 1978
Step 2: Remove Loose Paint and Prepare the Surface
Surface preparation decides whether the repair lasts. Scrape away every bit of loose, flaking paint, then feather the edges so the repair blends into the wall.
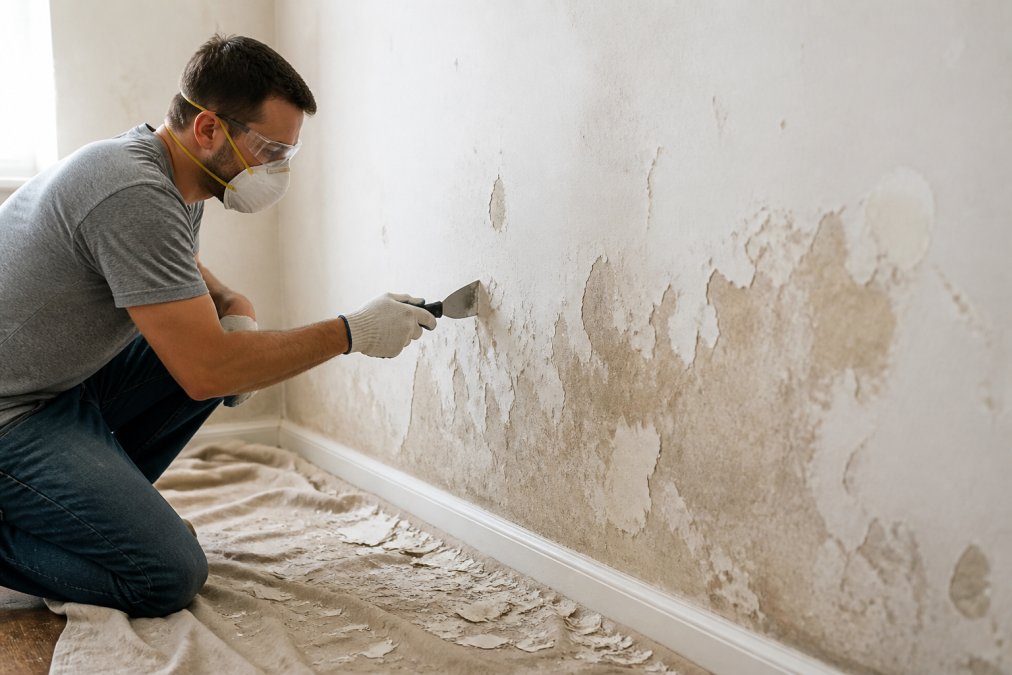
Work in this order:
- Lay drop cloths and tape off trim.
- Scrape loose paint with a putty knife held at a low angle.
- Feather the edges by sanding with 100 grit until the transition feels flat.
- Wipe the wall with a tack cloth to remove all dust.
- Wash greasy areas with a mild cleaner, then let the wall dry fully.
Skipping the tack cloth is the most common reason a repair fails. Dust left on the wall stops primer from bonding, and the new paint peels within months.
Step 3: Fill Cracks and Divots, Then Sand Smooth
Fill after you scrape, not before. Filler over loose paint just cracks again.
After sanding:
- Wipe with a tack cloth.
- Check the surface with your hand. You should feel no ridges.
- Spot-prime any bare filler before topcoating.
Step 4: Choose the Best Primer for Peeling Paint
The best primer for peeling paint is one that seals the surface and locks down any remaining edges. Primer is not optional here. It is the step that stops the peel from returning.
- Water-based acrylic bonding primers. Low odor, soap-and-water cleanup, and formulated to grip chalky or slick surfaces. They dry fast, often recoatable in one to two hours, but they can reactivate if the wall stays damp. Best default for most interior drywall repairs.
- Oil-based (alkyd) primers. Penetrate deeper and block tannin bleed and light stains. The trade-off is a strong solvent odor, longer dry time (often overnight before topcoating), and a harder film that can stay slightly tacky in humid rooms.
- Shellac-based primers. The strongest stain and odor blockers, the standard choice over smoke damage, water stains, and knots. They dry in under an hour, but the solvent smell is intense, so ventilate aggressively and wear a respirator.
- Epoxy and masonry primers. Used on bare concrete, brick, or block where alkalinity and moisture drive failure. Overkill on drywall and difficult to sand.
Match the primer to the surface:
| Surface | Primer Type | Why It Works |
|---|---|---|
| Bare drywall | PVA or drywall primer | Seals porous paper so topcoat doesn’t flash |
| Previously painted walls | Water-based bonding primer | Grips slick or chalky surfaces |
| Patched areas | Spot primer | Blocks filler from flashing through the topcoat |
| Stained or smoky walls | Shellac-based primer | Seals stains and odor in one coat |
| High-moisture rooms | Moisture-resistant primer | Handles humidity cycling |
| Bare concrete or block | Epoxy or masonry primer | Bonds to alkaline, porous substrate |
A few rules of thumb that save rework:
- Never topcoat over a primer that isn’t fully cured. Water-based primers feel dry in an hour but may need longer before they can take paint without lifting. Check the label’s recoat window and add time in humid rooms.
- Don’t mix chemistries on the same wall. A shellac spot over an acrylic field can telegraph through the topcoat as a sheen difference.
- Two thin coats of primer beat one thick coat. Thick primer skins over, traps solvent, and cures unevenly.
- Tint the primer toward the topcoat color when covering a dark patch with a light finish. This reduces the number of topcoats needed to hide the repair.
Buy primer in the same sheen family as your topcoat when possible. A flat primer under a satin topcoat can read as a dull spot if the topcoat is applied too thin.
Step 5: Paint the Repaired Area and Match the Texture
Texture matching is where most DIY repairs give themselves away. A flat, smooth patch on a textured wall stands out in raking light, the low-angle light that skims across a wall and reveals every ridge and dip.
- Orange peel looks like the dimpled skin of a citrus fruit, fine, uniform, and slightly stippled.
- Knockdown looks like flattened splatters with soft, irregular plateaus and rounded edges.
- Popcorn (acoustic) is a heavy, bumpy coating, usually on ceilings.
- Skip trowel has broad, sweeping arcs of thin compound.
- Smooth (Level 4 or 5) has no texture at all and is the easiest to match.
Matching each texture:
- Smooth walls: Sand the patch flush with 220 grit, prime, and paint. Feather the edges so no ridge catches light.
- Orange peel: Thin drywall compound slightly, load a roller with the same nap as the original finish (typically 3/8-inch for fine orange peel, 1/2-inch for heavier), roll it on, then lightly knock the peaks down with a dry roller or a flexible knife once it sets. Practice on scrap drywall first, the pressure and speed control the pattern.
- Knockdown: Apply a thinned coat of compound with a roller or hopper, let it set until it stops being wet but before it fully hardens (usually 10 to 20 minutes), then drag a wide knife lightly across the surface at a shallow angle. The knife flattens the peaks and leaves the characteristic soft plateaus.
- Popcorn ceilings: Use a spray texture can made for ceilings. Match the droplet size to the surrounding area, spray in light passes, and let it dry before painting. Popcorn is difficult to blend invisibly; sometimes the cleanest fix is to retexture the whole ceiling plane.
- Skip trowel: Apply compound with a trowel in overlapping arcs, then knock down the high spots with a light pass. This is the hardest texture to match by hand and often warrants a pro.
After the texture dries:
- Prime the patch with the same primer family used on the rest of the wall.
- Cut in the edges with a brush, then roll the field with a roller.
- Feather the new paint into the old with light, dry strokes so the sheen blends at the transition.
- Match the roller nap and paint sheen to the surrounding wall. A satin patch on an eggshell wall will flash even if the color is identical.
Texture and sheen matter more than color when matching a repair. Get those right and the patch disappears, get them wrong and even a perfect color match will show.
How to Prevent Peeling Interior Paint From Coming Back
Prevention comes down to moisture control and surface prep. Fix both and the repair holds for years.
Steps that keep peeling interior paint from returning:
- Run exhaust fans in bathrooms and kitchens.
- Fix leaks before they reach the drywall.
- Use moisture-resistant primer in humid rooms.
- Clean walls before painting, every time.
- Never paint over glossy or dusty surfaces.
- Let each coat cure fully before the next.
Frequently Asked Questions
Is it ever okay to paint over peeling paint?
No. Painting over peeling paint traps moisture underneath and the new coat will fail within months. You must remove all loose, flaking material first. Scrape the area with a putty knife, sand the edges smooth, and apply a bonding primer before repainting. Skipping this step is the single most common reason peeling interior paint returns.
Can I spackle over peeling paint?
Only after you remove the loose paint. Spackle or drywall compound will not bond to flaking edges and will crack as the old paint continues to lift. Scrape away all loose material, sand the border until it feathers flat against the wall, then apply spackle to fill divots and cracks. Let it dry fully before sanding smooth.
Why is my paint peeling off the wall like skin?
Paint peels in sheets when moisture gets trapped behind the film. Common causes include painting over a damp or dirty surface, using a topcoat without primer, or high humidity in the room. In older homes, a chalky or glossy substrate can also prevent adhesion. Fixing the moisture source matters as much as repairing the surface.
How do I prevent paint from peeling in the future?
Start with a clean, dry surface. Sand glossy areas to give the new coat something to grip, and always use a primer designed for the substrate. In bathrooms and kitchens, run an exhaust fan to control humidity. If you had peeling before, check for leaks or moisture issues before repainting. Proper surface preparation is the best prevention.
Peeling paint is a symptom, not the problem. Find the moisture or prep failure behind it, repair the surface the right way, and the fix will last. If the job is bigger than a weekend patch, or the peel keeps coming back, ScreenCoat Painting & Flooring can take it from assessment to a crisp, finished wall. Get your free estimate and let our team handle the prep, primer, and paint so your interior looks new again.